Pre-Service Setup
Before any nail service begins, you must sanitize your workstation, disinfect all reusable implements, wash your hands, and have the client wash theirs. Pre-service preparation is tested on both the written and practical exam.
Manicure: Step-by-Step
- Remove old polish: Use acetone or non-acetone remover on a cotton pad. Work from base to tip. Never soak the entire finger in remover.
- Shape the nail: File with a medium-grit file. File in one direction on natural nails, from corner to center. Sawing back and forth causes splitting and is marked as an error on practical exams.
- Soak: Place hands in warm soapy water for 2-3 minutes to soften cuticles.
- Apply cuticle softener: Apply to the cuticle area and allow it to work per product instructions.
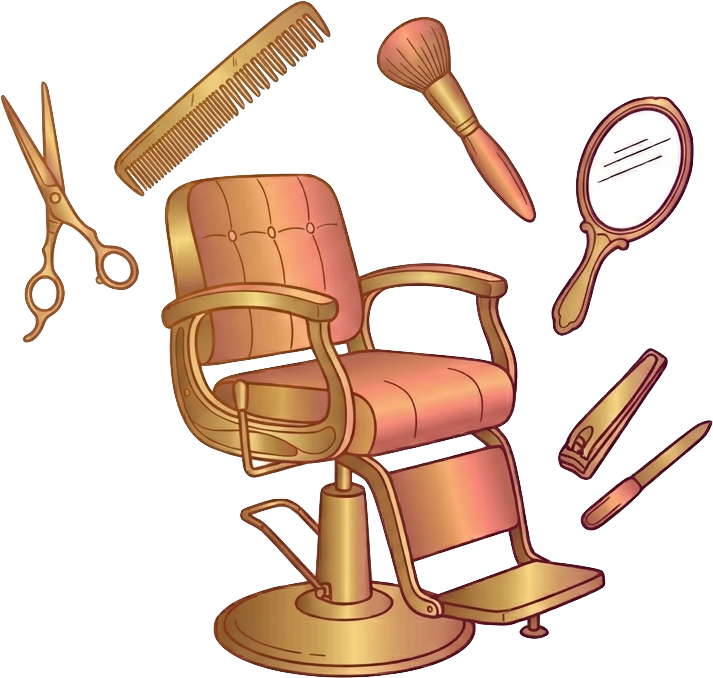
- Push back cuticle: Use the flat end of an orangewood stick or a rubber-tipped pusher. Work gently in small circles. Never force.
- Nip dead cuticle only: Use cuticle nippers to remove only the dead, loose cuticle tissue. Never cut the living eponychium. Cutting living tissue creates an open wound and an infection risk.
- Buff: Use a three- or four-way buffer to smooth ridges if desired. Do not over-buff natural nails; this thins the plate.
- Hand and arm massage: Apply lotion and massage using effleurage, petrissage, and tapotement techniques.
- Remove lotion: Wipe nails clean of all oil or lotion before polish application. Oil on the nail plate causes polish to lift.
- Apply base coat: One thin coat. Protects the nail from staining and helps polish adhere.
- Apply color: Two thin coats, allowing each to dry before applying the next. Start with a thin stripe down the center, then two strokes on either side.
- Apply top coat: Seals the color and adds shine. Wrap the free edge to prevent chipping.
Applying thick coats of polish to speed up the service creates bubbling, streaking, and poor wear. Two thin coats always outperform one thick coat on both appearance and longevity.
Pedicure: What Is Different
A pedicure follows the same general sequence as a manicure but includes additional steps for the feet.
| Step | Manicure | Pedicure Addition |
|---|---|---|
| Soak | Small bowl, 2-3 min | Foot basin, 5-10 min with antiseptic |
| Callus removal | Not applicable | Pumice stone or foot file; never a razor/credo blade |
| Nail shape | Oval or desired shape | Straight across to prevent ingrown toenails |
| Massage | Hand and lower arm | Foot, ankle, and lower leg |
| Basin disinfection | Not applicable | Required between every client |
In most states, the credo blade (a blade used to shave calluses) is prohibited in licensed salons. The legal option is a pumice stone or foot file. Using a credo blade is a state board violation and could result in license suspension.
Filing Rules for Natural vs. Enhanced Nails
- Natural nails: File in one direction only, from side to center. Never saw back and forth.
- Acrylic/gel: Can be filed more aggressively; back-and-forth motion is acceptable on the product surface during shaping.
Toenails should always be filed or clipped straight across to prevent ingrown toenails. Never round the corners of toenails during a pedicure. This is both a health guideline and a standard tested on the practical exam.